Your vehicle’s transmission is among the most vital components of your car. To ensure that it runs smoothly, you should frequently check the transmission fluid, which assists in cooling, lubricating, and shielding the internal parts that make up the engine. If you’re a novice or an enthusiast for DIY cars, it is straightforward and takes just the time of a few minutes. This guide will assist you in doing it right and securely.
1. Why Checking Transmission Fluid Is Important
The transmission fluid influences the way your car shifts gears. If the fluid is low or dirty, or even burned, you could experience:
- The shift can be delayed or rough.
- Slipping gears
- Overheating
- Transmission damage
Regular inspections can help avoid costly repairs and increase the overall life of your car.
2. What You Need Before You Start
There aren’t any special tools you need. Make sure to have the following tools:
- A clean, dry cloth or paper towel
- The owner’s manual of your vehicle
- A level parking spot
Certain cars require that the engine be running, whereas others need the engine to be shut off. Always read the manual.
3. Step-by-Step Guide to Checking Transmission Fluid
Step 1: Park Safely
Place your car on a level and even surface.
If your vehicle needs to be checked, with the motor running, make sure to keep your car within Park (P) while the parking brake is in place.
Step 2: Let the Engine Warm Up
The majority of vehicles require checking the fluid once the engine temperature is high since transmission fluid expands as temperatures increase. The engine should be idle for five to ten minutes.
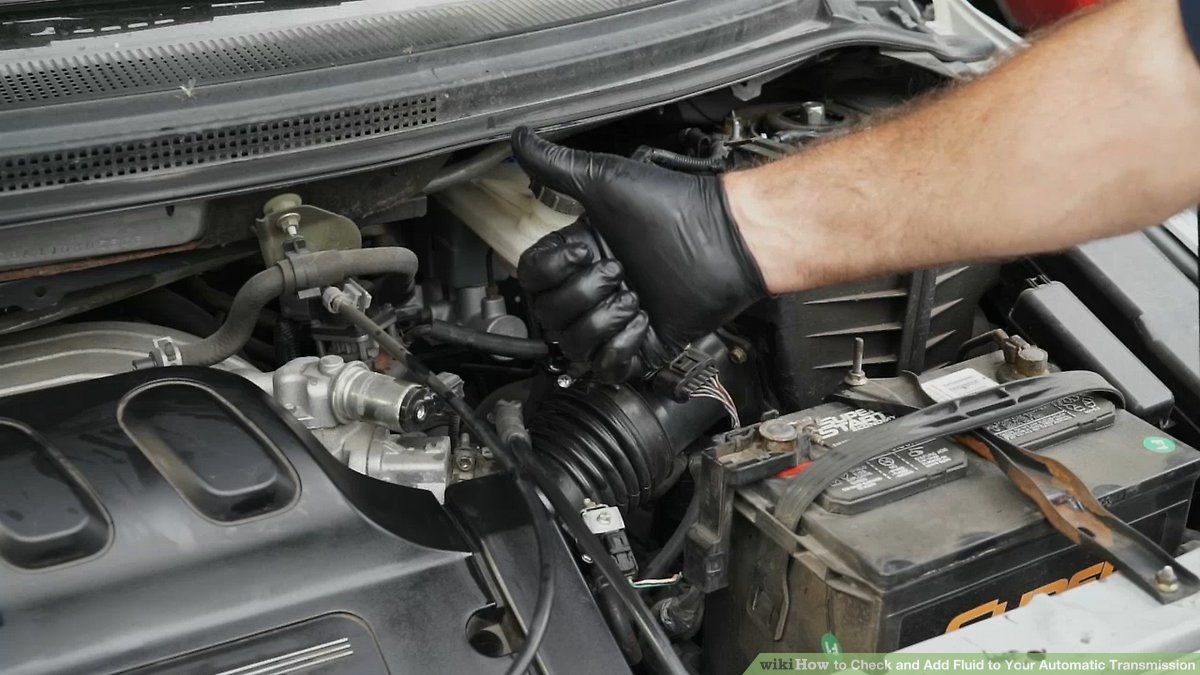
Step 3: Open the Hood
Release the hood lever in your car, and lock the hood.
Step 4: Find the Transmission Dipstick
In the majority of automobiles (especially older models), the dipstick can be found:
- Near the rear of the engine
- Sometimes labelled “Transmission” as well as colored yellow/red
Not all modern vehicles have sealed transmissions without a dipstick. This should be examined by an expert mechanic.
Step 5: Take the dipstick off and Clean It
Dismantle the dipstick, then clean it with an absorbent cloth, and then re-insert it completely
Step 6: Remove Again and Check Fluid Level
Take it back out and check the amount:
It should be inside those “HOT” or “FULL” marks.
If your fluid isn’t at the level recommended, it may be necessary to increase the amount of fluid.
Step 7: Examine the condition of the fluid.
A healthy transmission fluid must contain:
- Bright, clear pink or red
- The texture is smooth and oily.
- Black or dark brown
- Burnt odor
- Cloudy or gritty
Bad fluid means it’s time for a service.
4. When to Add Transmission Fluid
When the fluid level drops, you should use only the fluid described in the manual of your owner (ATF or CVT fluid, etc.). Make sure to add it slowly with funnels, and then you can check the level.
Be careful not to overfill because this could cause damage to your transmission..
5. Signs Your Transmission Fluid Needs Service
- Shaking or jerking while moving
- Whining, grinding, or grinding sounds
- The acceleration is slow and slow.
- Leaks of fluid under the car
- The smell of burning
If you spot these warning signs, contact a mechanic right away.
Conclusion
Examining the fluid in your transmission is among the simplest yet most crucial maintenance tasks you could perform. In a matter of minutes, you will be able to protect your vehicle, avoid expensive repairs, and enjoy an enjoyable driving experience.
Include this in your regular car maintenance routine. Your transmission will thank you.